Nội dung
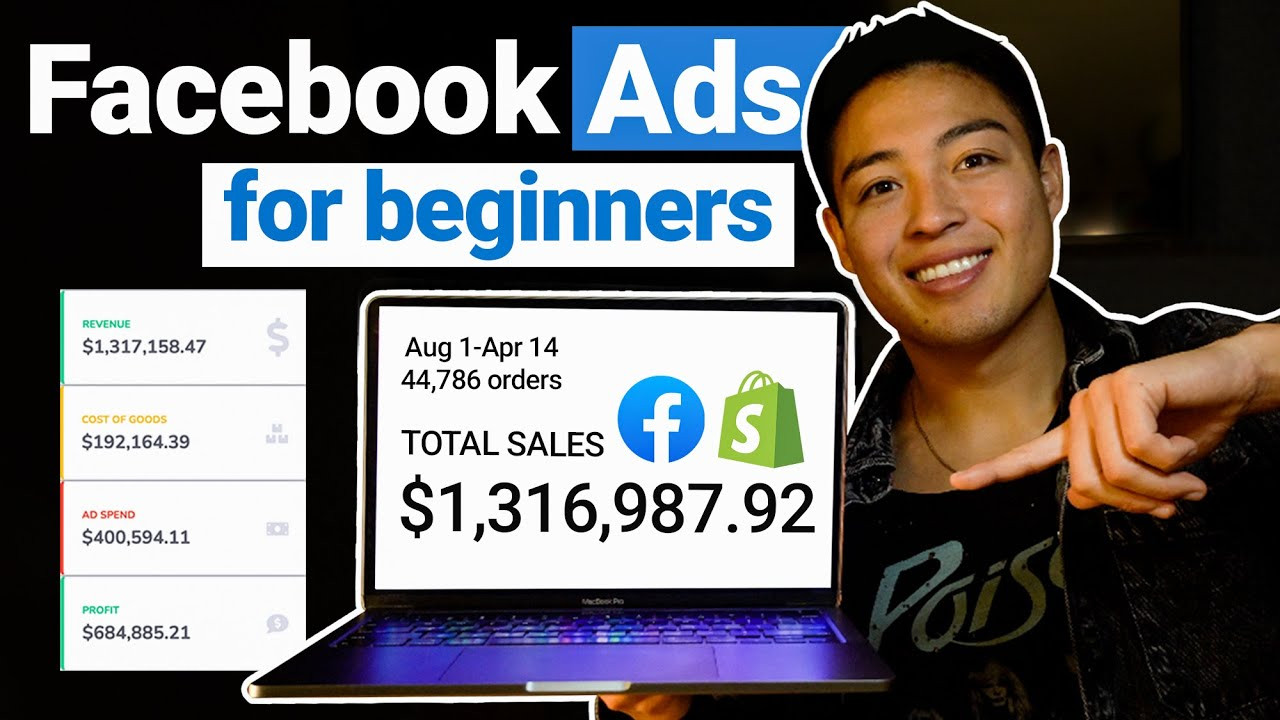
You could be losing thousands of dollars daily due to a simple structural error in your Facebook ad campaigns for your Shopify store. Even with a winning product and a perfect website, if you’re not targeting the right audience, you won’t make money. This guide provides a foundational approach to Facebook Ads setup, helping you pinpoint your ideal customer and drive results. The best part? This strategy applies to any product you’re selling.
Setting Up Business Manager and Ad Account
Before running ads, set up a Business Manager account. This central hub manages all your Facebook assets, including Pages, ad accounts, and pixels. You can grant access to others for data viewing and editing.
To create a Business Manager account, visit business.facebook.com/overview. Click “Create Account” and fill in the required information. After email verification, you’ll be directed to set up your ad account.
Within Business Manager, navigate to “Ad Accounts,” select “Add,” and choose “Create a New Ad Account.” Name your account and select “Full Control” access. Next, add your payment method.
Creating a Facebook Page and Linking Your Pixel
Create a Facebook Page for your brand by navigating to “Pages,” selecting “Add,” and choosing “Create a New Page.” Fill in your brand information and select the appropriate category. After page creation, add administrators with “Full Control” permissions.
The next crucial step is Pixel creation and linking. There are two ways to set up your Pixel: through “Data Sources” or within Ads Manager. We recommend doing it within Ads Manager. Create a test campaign, choose the “Conversions” objective, and you’ll see the option to create a Pixel. Name your Pixel and paste in your website URL.
Choose the Shopify integration and follow the prompts to link your Shopify account with your Pixel. In Shopify, go to “Settings” -> “Online Store” -> “Preferences” -> “Facebook Pixel” to finalize the connection.
After linking, test your Pixel by adding a product to your cart and proceeding to checkout. Use the Pixel Helper extension on Chrome to ensure your Pixel is tracking conversion events.
The Pixel: Your Website’s Brain
The Pixel is a piece of code provided by Facebook that sits on your Shopify website. It tracks all customer activity, including product views, add to carts, and purchases. This data helps Facebook understand your audience, allowing for more effective ad optimization. Without the Pixel, Facebook is blind to your website visitors, rendering ad campaigns significantly less effective.
Creating Your First Ad Campaign
After Pixel installation, create your first campaign. Choose the “Conversions” objective and name your campaign. Select your target country and region. We recommend using ad set level budgets rather than campaign level budgets.
Select “Purchase” as your conversion event and set a daily budget for each ad set.
Defining Your Target Audience
The most crucial part is defining your target audience. Research your product and consider who would be interested. Utilize Facebook’s suggestion bar to find related interests. For example, if you sell phone cleaning products, you might target people interested in hygiene, cleaning, or specific cleaning product brands.
Creating Ad Content
Create engaging video or image ads clearly showcasing your product and its benefits. Write concise ad copy that grabs attention and includes a clear call to action (e.g., “Shop Now”).
Duplicating and Adjusting Ad Sets
After creating your first ad set, duplicate it and alter the interests to test different audiences. Keep other elements like budget, placement, and age consistent.
Conclusion
This guide provided a foundation for setting up and running Facebook ads for Shopify dropshipping. Continuously monitor, analyze, and optimize your campaigns for optimal performance. To learn more about scaling your ads, leave a comment below.